
D-Zone For Dummies (OUTDATED)
Regional D-Effect Zone (a.k.a. "D-tide") is the main repeatable endgame content in Morimens.
In this game mode, you have to clear up to 5 separate waves (stages) without repeating any characters or wheels. The more waves you clear at higher difficulties, the more rewards you receive.
D-Tide Is Not Scary
Try to do D-tide as soon as you unlock it.
New players tend to ignore D-tide because it's "endgame content." In fact, you can and should start as soon as you have the opportunity. This is because even a new player can clear the lowest difficulty level and get tons of Silver and level-up materials.
By starting D-tide early, you'll get resources to level up faster, you'll get more experienced at the game mode, and you'll be able to get more and more rewards from D-tide in the future.
Choosing Your Difficulty
OK, so you want to give D-tide a shot. What difficulty should you aim for? Here's a rough estimate of what you need to clear each alert.
Alert I (Lv. 40-48)
- Mobs have around 800 HP.
- Bosses have around 30,000 HP in total.
- Your team should be able to deal more than 7,000 damage in one turn.
- Your team should be able to tank around 100 incoming damage each turn.
This is the easiest difficulty and can be done as soon as you unlock D-tide.
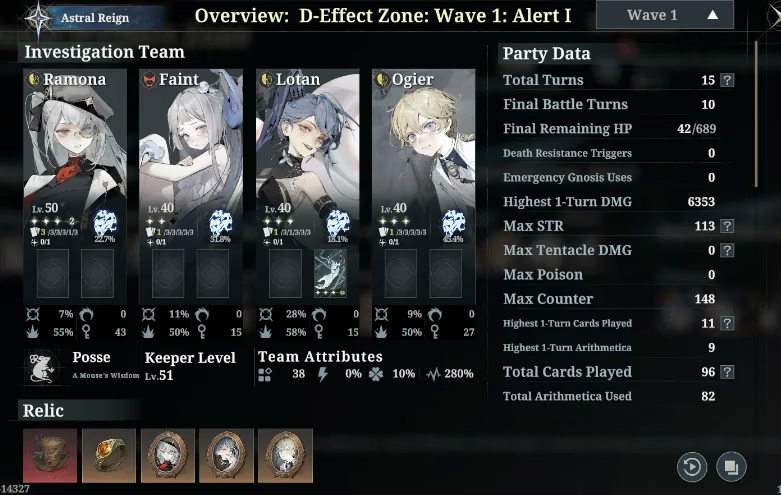
In Alert 1, the enemy HP is so low that you only need one leveled DPS to cruise to victory. The rest of the team can be level 1. (Don't forget to unlock soulforge level 1 though.)
If the team has a limited character with big numbers like Arachne or Saya, you may not even need level 40 to clear.
Alert II (Lv. 50-58)
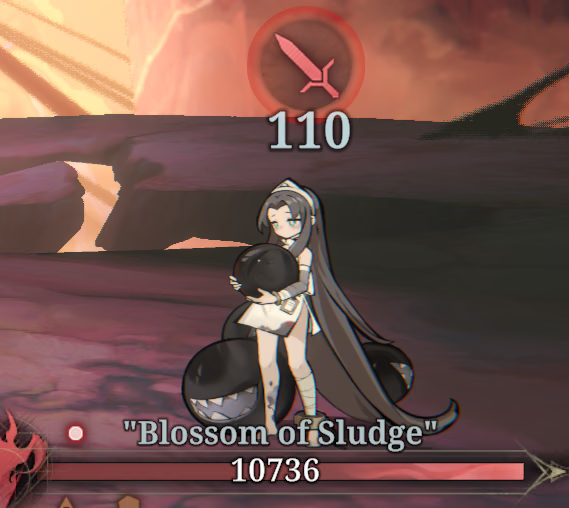
- Mobs have around 2,000 HP.
- Bosses have around 70,000 HP in total.
- Your team should be able to deal more than 15,000 damage in one turn.
- Your team should be able to tank around 200 incoming damage each turn.
This is around the difficulty of Chapter 8 of Faded Legacy, or the Level 60 difficulty in events.
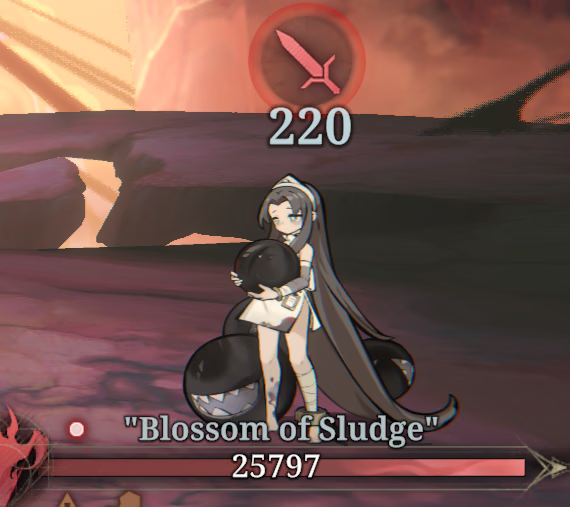
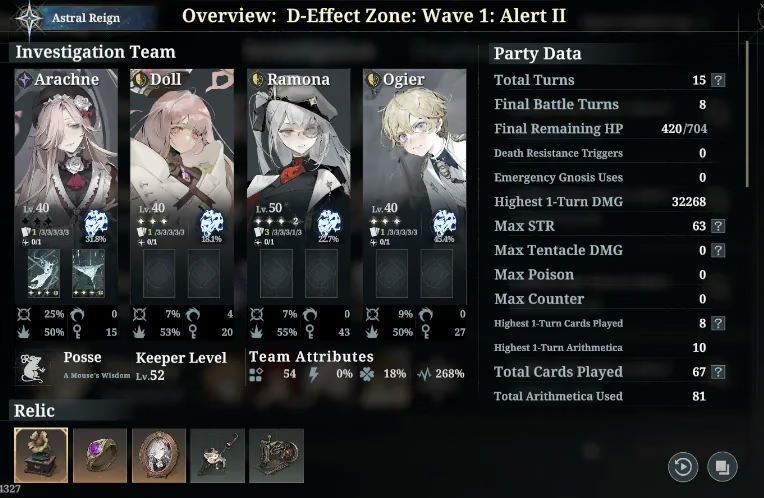
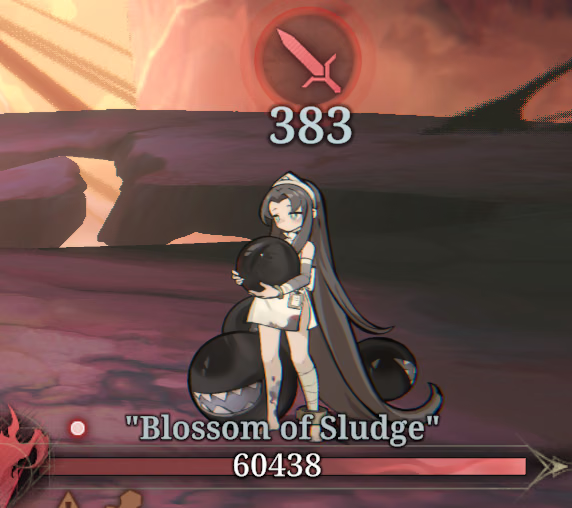
Alert 2 is doable with a full level 50 team. The team does not have to be good or make sense. You just need a decently built damage dealer and enough HP to survive a few turns.
If the team has any limited units, or a level 60 DPS with soulforge levels, this difficulty is free.
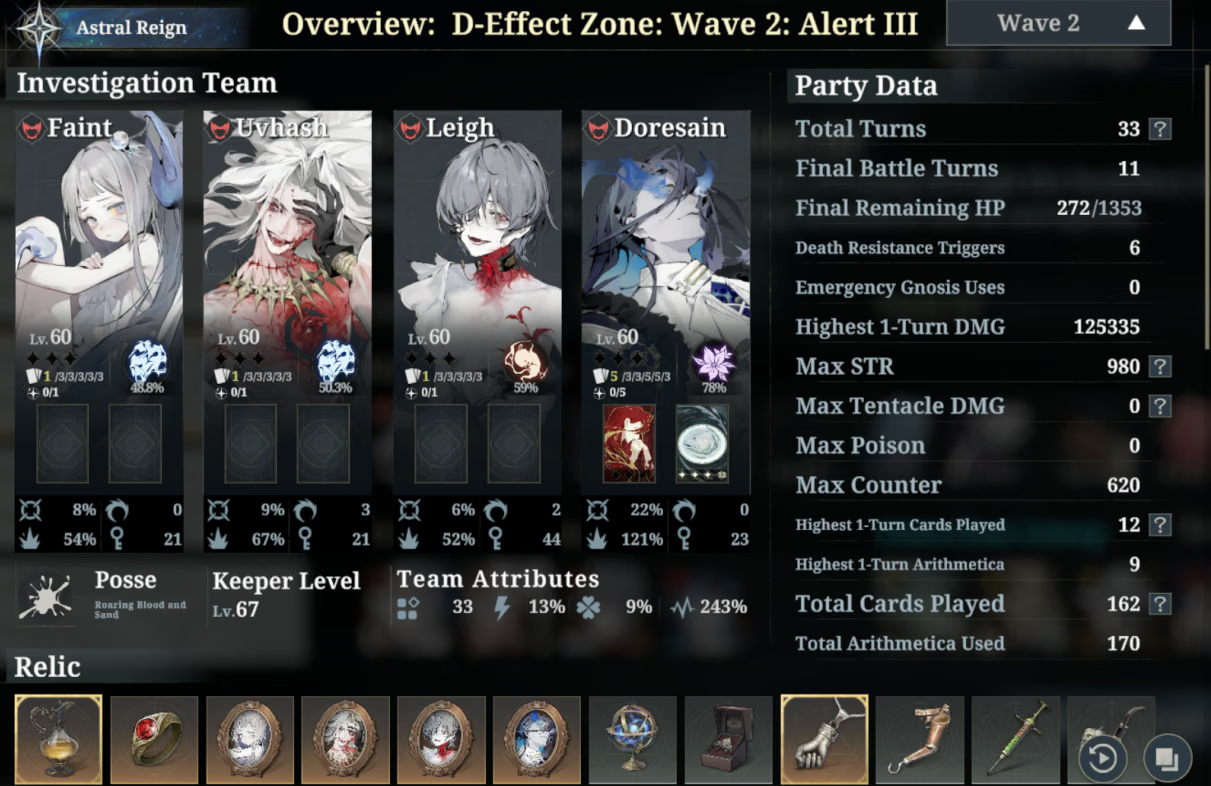
Alert III (Lv. 60-68)
- Mobs have around 5,000 HP.
- Bosses have around 150,000 HP in total.
- Your team should be able to deal more than 40,000 damage in one turn.
- Your team should be able to tank around 350 incoming damage each turn.
This is around the difficulty of Chapters 1 and 2 of Astral Reign, or the Madness difficulty in events.
Alert 3 is what you might call a "basic investment" check. To beat Alert 3, you will want level 60 soulforge 5 characters, decent wheels and covenants, and a team comp that makes sense. As long as you achieve this baseline, you can use C-tier DPS and still clear.
If you have any limited units or invested DPS on the team, this difficulty is once again free.
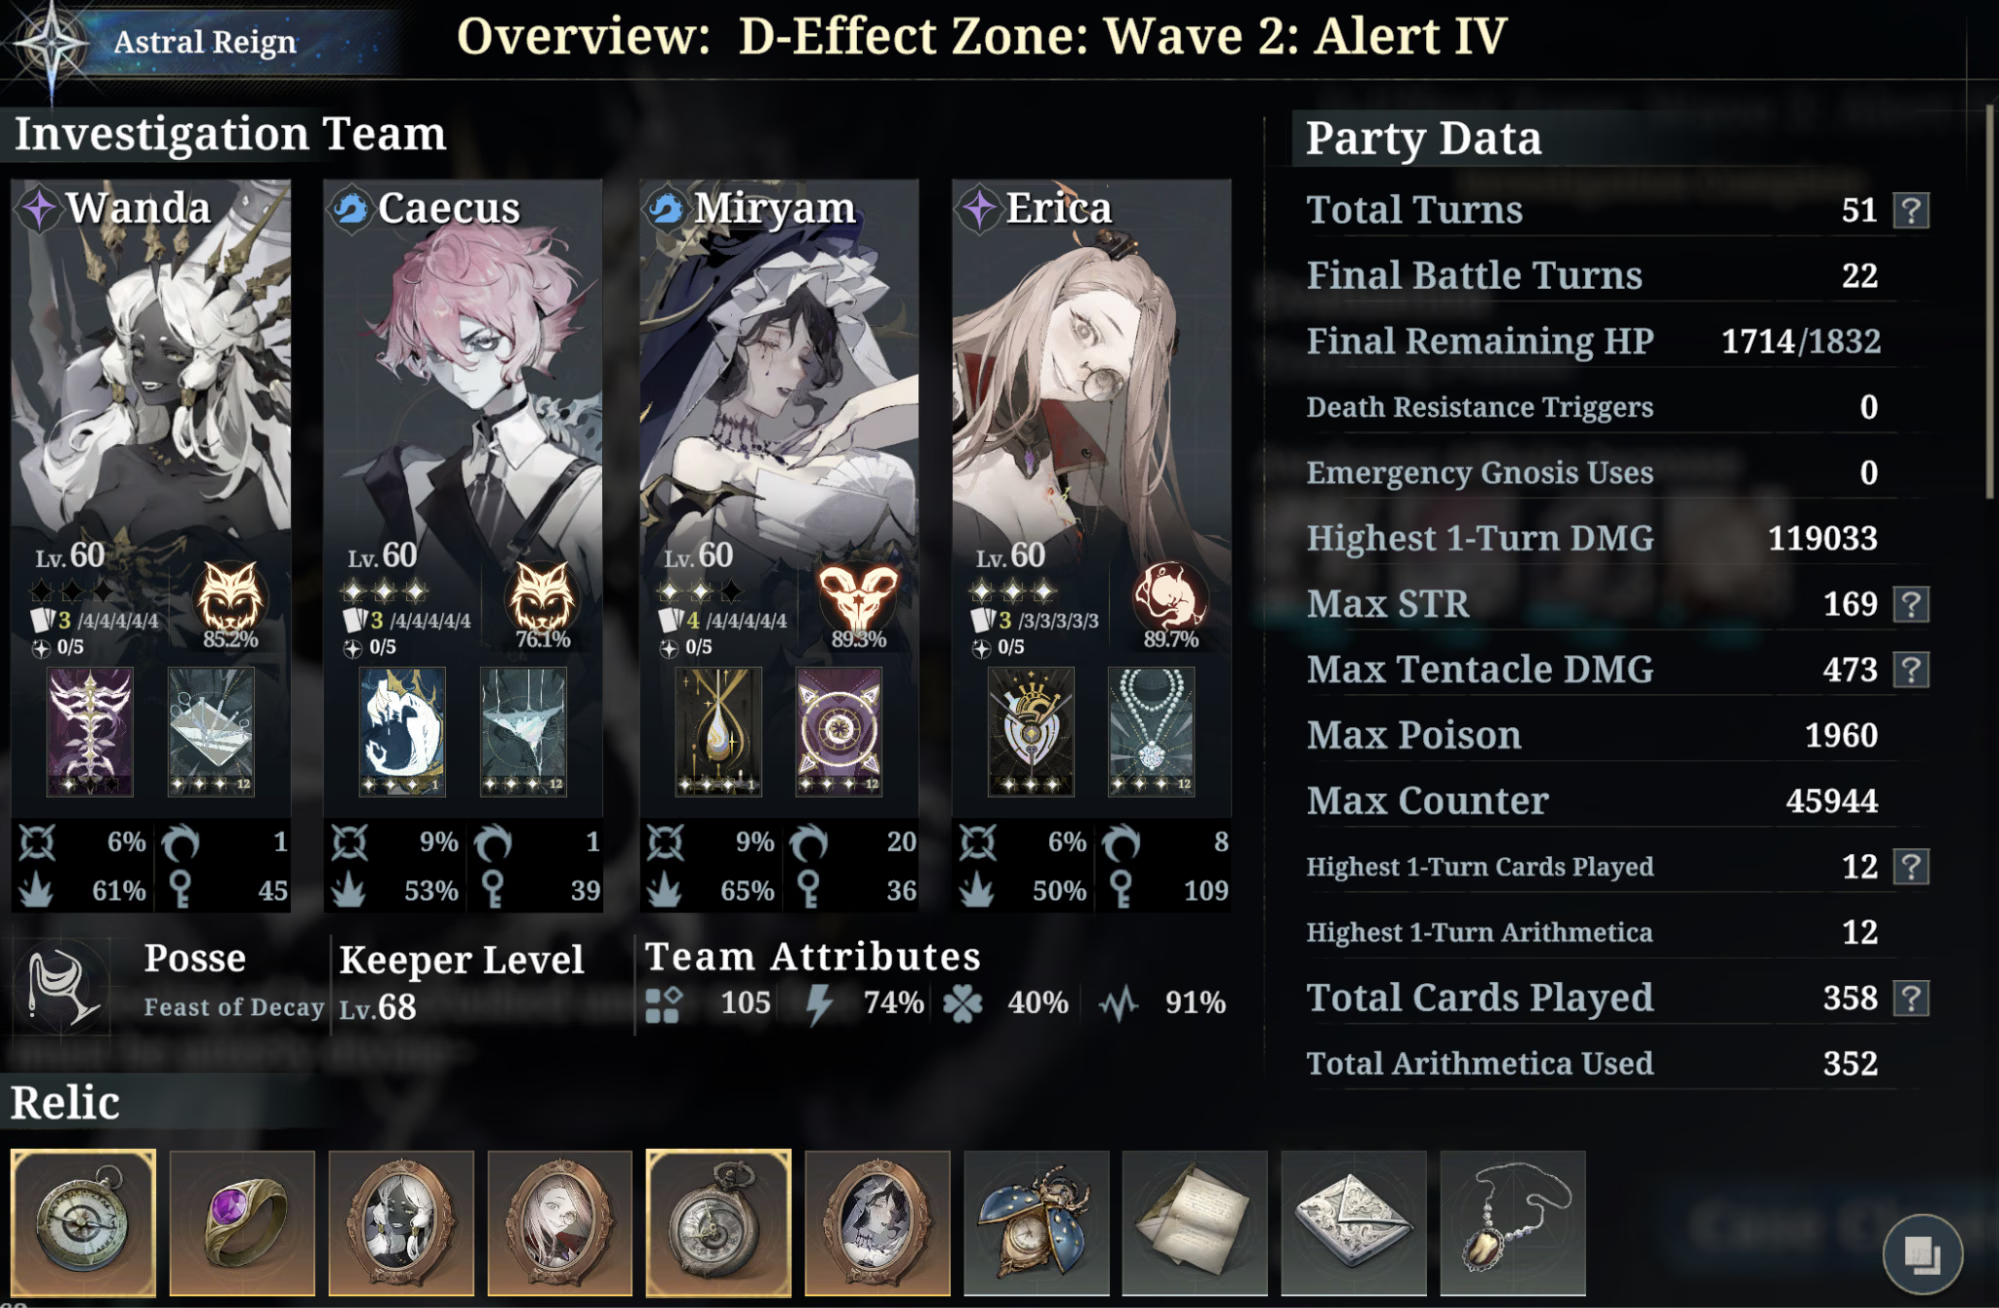
Alert IV (Lv. 70-74)
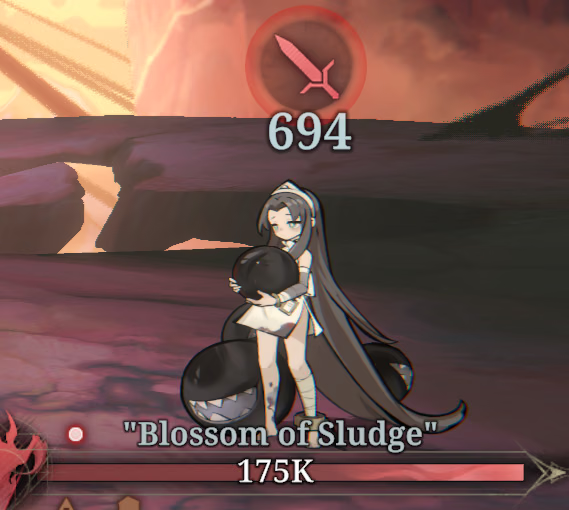
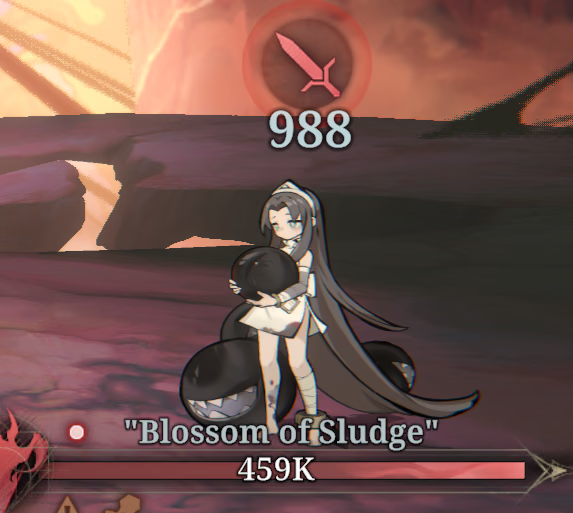
- Mobs have around 10,000 HP.
- Bosses have around 500,000 HP in total.
- Your team should be able to deal more than 100,000 damage in one turn.
- Your team should be able to tank around 650 incoming damage each turn.
This is around the difficulty of Chapter 3 and onward of Astral Reign.
Alert 4 is when the game gets serious and you can't clear with random characters anymore. You need weakness and vulnerable and a keyflare bot. You need characters that synergize with each other and a game plan that scales well against tougher enemies.
If the team has a strong limited carry like Vortice or GHelot, this difficulty is straightforward and you can get away with using level 60 soulforge 5 units. Otherwise, you may need more investment depending on how questionable your team is.
Alert V (Lv. 75-78)
- Mobs have around 40,000 HP.
- Bosses have around 2 million HP in total.
- Your team should be able to deal more than 300,000 damage in one turn.
- Your team should be able to tank around 900 incoming damage each turn.
This is around the difficulty of Astral Reign hard mode stages.
Alert 5 is a test of your game mastery. There is no guarantee you can clear the stage even with a level 80 soulforge 10 team. But if you know the boss fight and bring a team with a good matchup, level 60 units may be all you need.
More than any other difficulty, Alert 5 is about abusing game mechanics to your advantage, resetting fights to try every possible combination of moves, and gambling on death resistance to survive.
Alert 5 is not for everyone, but the rewards are great and the taste of success is sweet. If you consider yourself a veteran player, put yourself to the test!
Rules of D-Tide
Scoring
Each D-tide rotation begins on Monday and lasts 2 weeks. You have those 2 weeks to clear 5 waves and get as many points as possible.
You don't have to do all the waves at the same time, and you can reset and retry as often as you want. Only your highest score will be counted at the end of the season.
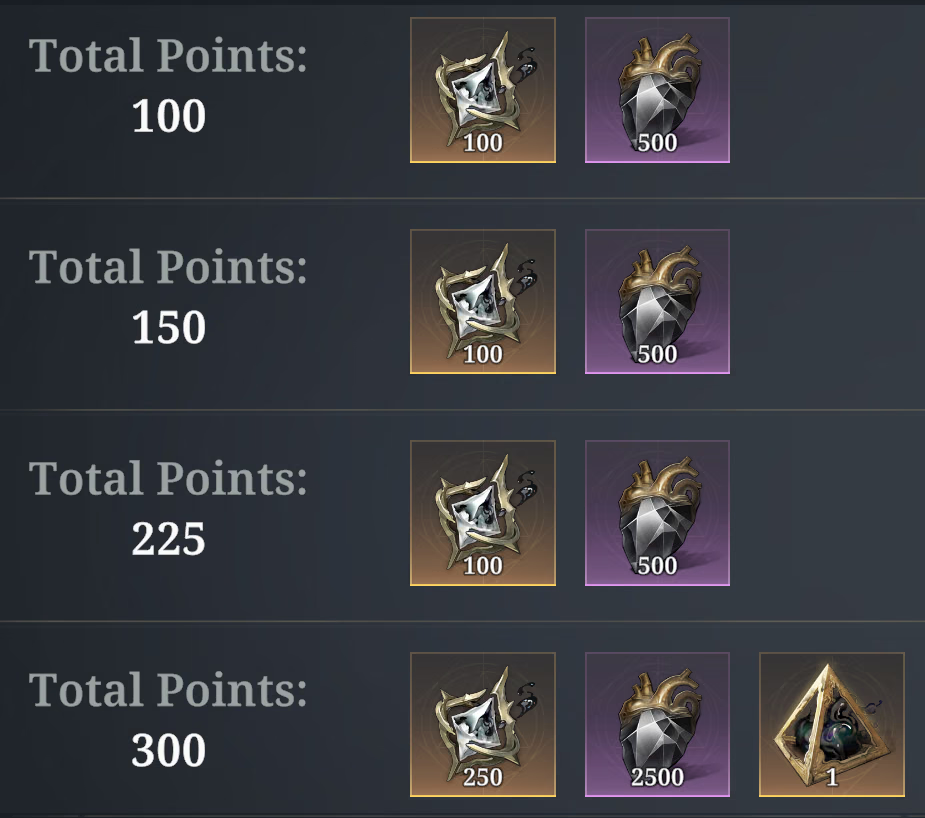
Clearing all waves at Alert 1 will give 300 points and about half of the total rewards available. Higher difficulties will give more points and more rewards, up to five Alert 5 clears, which gives 400 points and all rewards.
You can earn more points by doing extra clears. Each wave can be cleared one extra time with a new team to get +5 points. In other words, you can do two clears of a wave at Alert 1, and it will give the same number of points as one clear at Alert 2.
(You can even extra clear Alert 5 five times to get 425 points. This is very difficult, gives no rewards, and is mainly done by veteran players for bragging rights.)
As you can see, clearing more waves gives more points than clearing one wave at a higher difficulty. This is why you might want to invest horizontally rather than sinking all your resources into one team. You can take as long as you want to clear the main story, but if you miss rewards from a D-tide rotation, they're gone forever.
Don't be like Winkle.
Team Restrictions
You can't repeat characters or wheels in D-tide. Once you use a character or wheel to clear a wave, it's "locked in" for that clear, and you have to reset that clear if you want to use it somewhere else.
You also can't repeat posses, but this is less of an issue, since different teams tend to want different posses anyway.
Covenants can be freely reused, so you can build just a few sets and use them for all your D-tide clears.
For one of your clears, you can and should borrow a support character.
Ruleset
D-tide uses Astral Reign rules, which may be unfamiliar if you're a new player. Make sure you understand how these are different from Faded Legacy rules.
In particular, make sure you have at least soulforge level 1 on all the characters you're using.
Relics
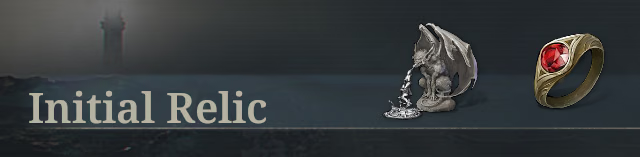
Each wave in D-tide gives you two free relics when you start the investigation.
The first relic is an Astral Reign relic which is unique to that wave. This relic will be more useful for certain teams and strategies, giving those teams and strategies a stronger matchup into that wave.
Sometimes the relic also enables new strategies. For example, if it generates poison or counter and can act as a source of damage, you can run a low-DPS stall team that otherwise wouldn't be able to clear.
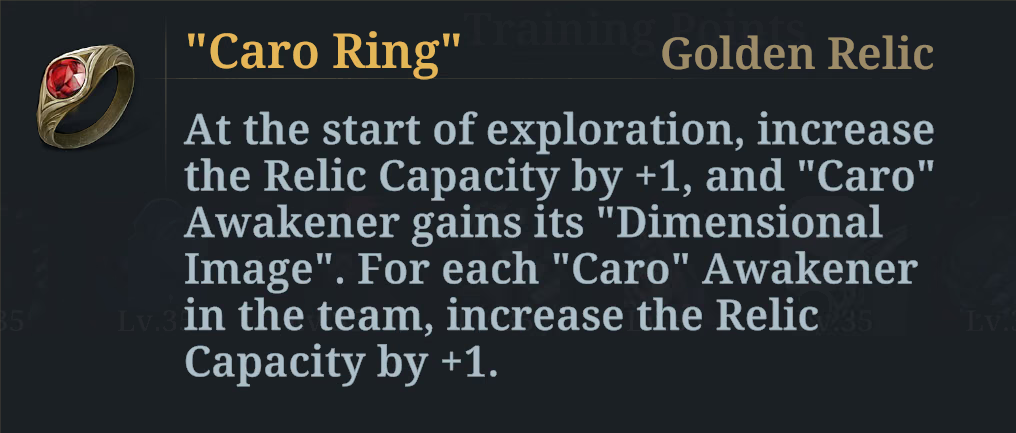
The second relic will always be either Chaos Ring, Aequor Ring, Caro Ring, or Ultra Ring. This is a special relic which rotates every D-tide season and buffs characters from a specific realm.
If you use any characters from the specified realm, you get their Dimensional Image Relic for free. This is a special relic which gives that character 15 aliemus per turn, and also has a bonus effect depending on the character.
In most cases, a character's image relic will move them up "half a tier" on the tier list. Some characters, like GMurphy, Xu, and Arachne, have especially powerful image relics that make them meta-defining during that D-tide rotation.
Even standard units become powerful when their Ring is active. This is why all the standard units are endgame viable and why you should pull all the realms rather than sticking to one realm.
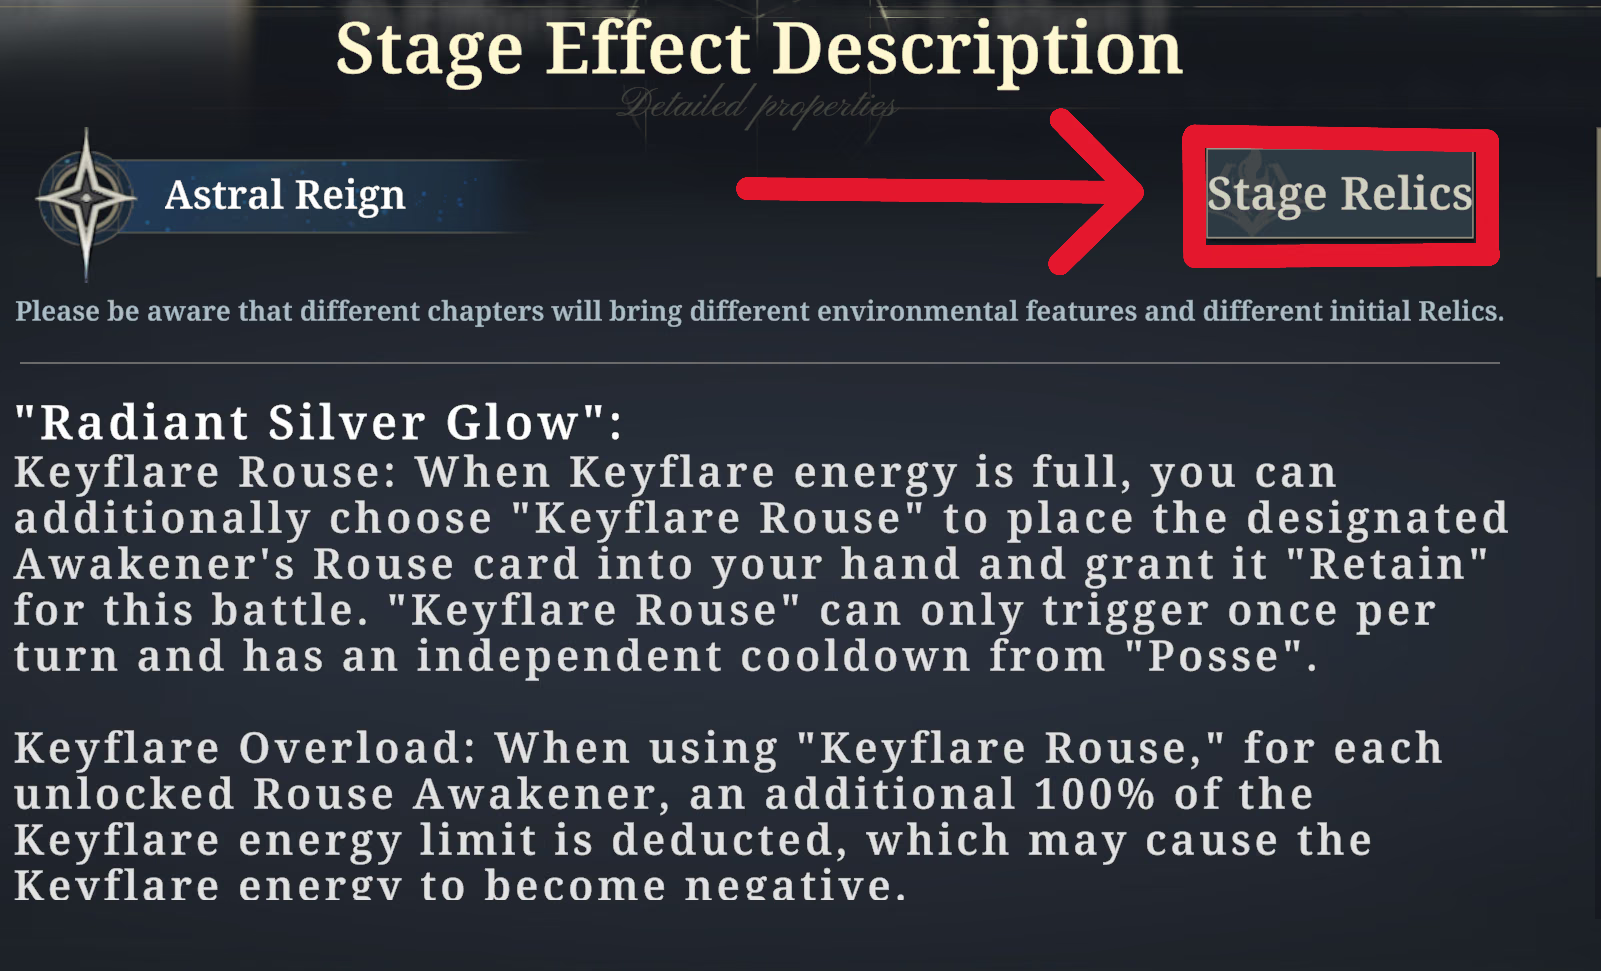
You can see what each Dimensional Image does by clicking on the "Astral Reign" banner, then "Stage Relics," and finally scrolling down to the "Dimensional Image" section.
Know Your Matchups
Before you dive into D-tide, plan your strategy by checking the relic, enemies, and boss of each wave. Different conditions are going to favor different team comps.
- If the boss has only one HP bar, it favors Max HP % damage characters like OE Lotan.
- If the boss uses multihit attacks, it favors STR down and counter DPS like Caecus.
- If the boss summons more enemies, it favors DPS with good AOE like Kathigu-Ra.
- If the boss has Ancient Embers, it favors DPS that deal damage every turn like Vortice.
- If the boss seals you or has other annoying restrictions, it favors teams that can ignore or bypass those restrictions.
If you don't know what the boss does, you can watch replays from the leaderboard, or check the Morimens Boss Compendium, or ask in one of the community Discords, or scout the stage at a lower difficulty first.
Each wave also has a roughly consistent length:
- Wave 1 is a short exploration stage where you can skip to the boss early.
- Waves 2 and 5 are long exploration stages with many fights and multiple shops.
- Wave 4 is always 2 elites and a boss with no mob fights and 1 shop.
- Wave 3 is always a single boss fight with no mob fights and no shops.
Long exploration stages favor characters that grow stronger after each fight, such as Ryker and Pollux. Boss-only stages favor characters that have trouble with mob fights, such as GDoll and most poison characters.
Starve Your Teams

In D-tide, you don't get prizes for clearing stages fast or overkilling bosses. The only things that matter are:
- whether you clear the stage or not, and
- how many waves you can clear.
If you use all your good characters and wheels on one team, you may have an easier time doing that wave. But you'll have nothing left for your other teams, so they'll struggle more and you may actually end up with less points.
The smart strategy is to split your good characters and wheels across as many teams as possible. In other words, make the worst possible team that can still clear each wave.
- Which gives more points: clearing one wave at Alert 5 with a team of GHelot, Thais, Salvador, and Arachne, or clearing four waves at Alert 1 with each of those characters individually?
- Do you need Thais to clear that wave, or can you substitute a less powerful support and still clear?
- Do you need the extra damage from Blade of the Titan, or can you substitute a less powerful wheel?
- In fact, do you need to put wheels on your supports at all?
Be ruthless. Remember you can clear Alert 3 and below with scraps. The better you get at starving your teams, the more waves you'll be able to clear with your limited resources, and the more rewards you'll be able to get every D-tide.
For more information on teambuilding, see the How to Build a Team section of this guide.
Claim Your Free Alert 5 Clear
For one of your clears each D-tide rotation, you're allowed to borrow a support character from another player. This works the same way as borrowing a support character in events and Phantasmal Dive. If you favorite them, they don't have to follow you back.
What this practically means is that in addition to whatever characters are on your account, you are also allowed to use one free, fully maxed, +12 level 90 limited carry with whatever wheels and covenants you want.
If you're new, I recommend borrowing a Mouchette to clear one wave at Alert 5 difficulty. It's literally free points.
(If it's a bad matchup for Mouchette, you can also borrow a Pollux, GHelot, etc.)
Cheri's Flowchart of Diminishing Respect
Personally, I follow this strategy for my D-tide clears:
Step 1. I figure out which wave is the most difficult for me to clear.
Step 2. I attempt that wave with the worst possible team that I still think has a chance to clear. (For the hardest wave, I borrow a whale support.)
Step 3a. If I fail, I improve the team a bit (by adding stronger supports, wheels, etc.) and try again.
Step 3b. If I succeed, I move on to the next most difficult wave.
If there's a wave I can't beat, I aim to clear it twice at a lower difficulty, once again using the worst teams possible.
This strategy lets you maximize the resources you have for beating the hardest stages, while ensuring that you have enough left over to beat the easiest stages.

Just Try It
I've given all the D-tide advice I can possibly give. But even with this advice, you may still be worried. You may ask: "What if D-tide is still too difficult?"
When I compare players who mainly do Alert 4 and players who mainly do Alert 5, the biggest difference is that Alert 5 players don't believe in the concept of "too difficult."
Yes, the enemy HP is crazy in Alert 5. Yes, the amount of incoming damage is stupid. Yes, you'll probably fail the first time you attempt it. But is that a reason not to try?
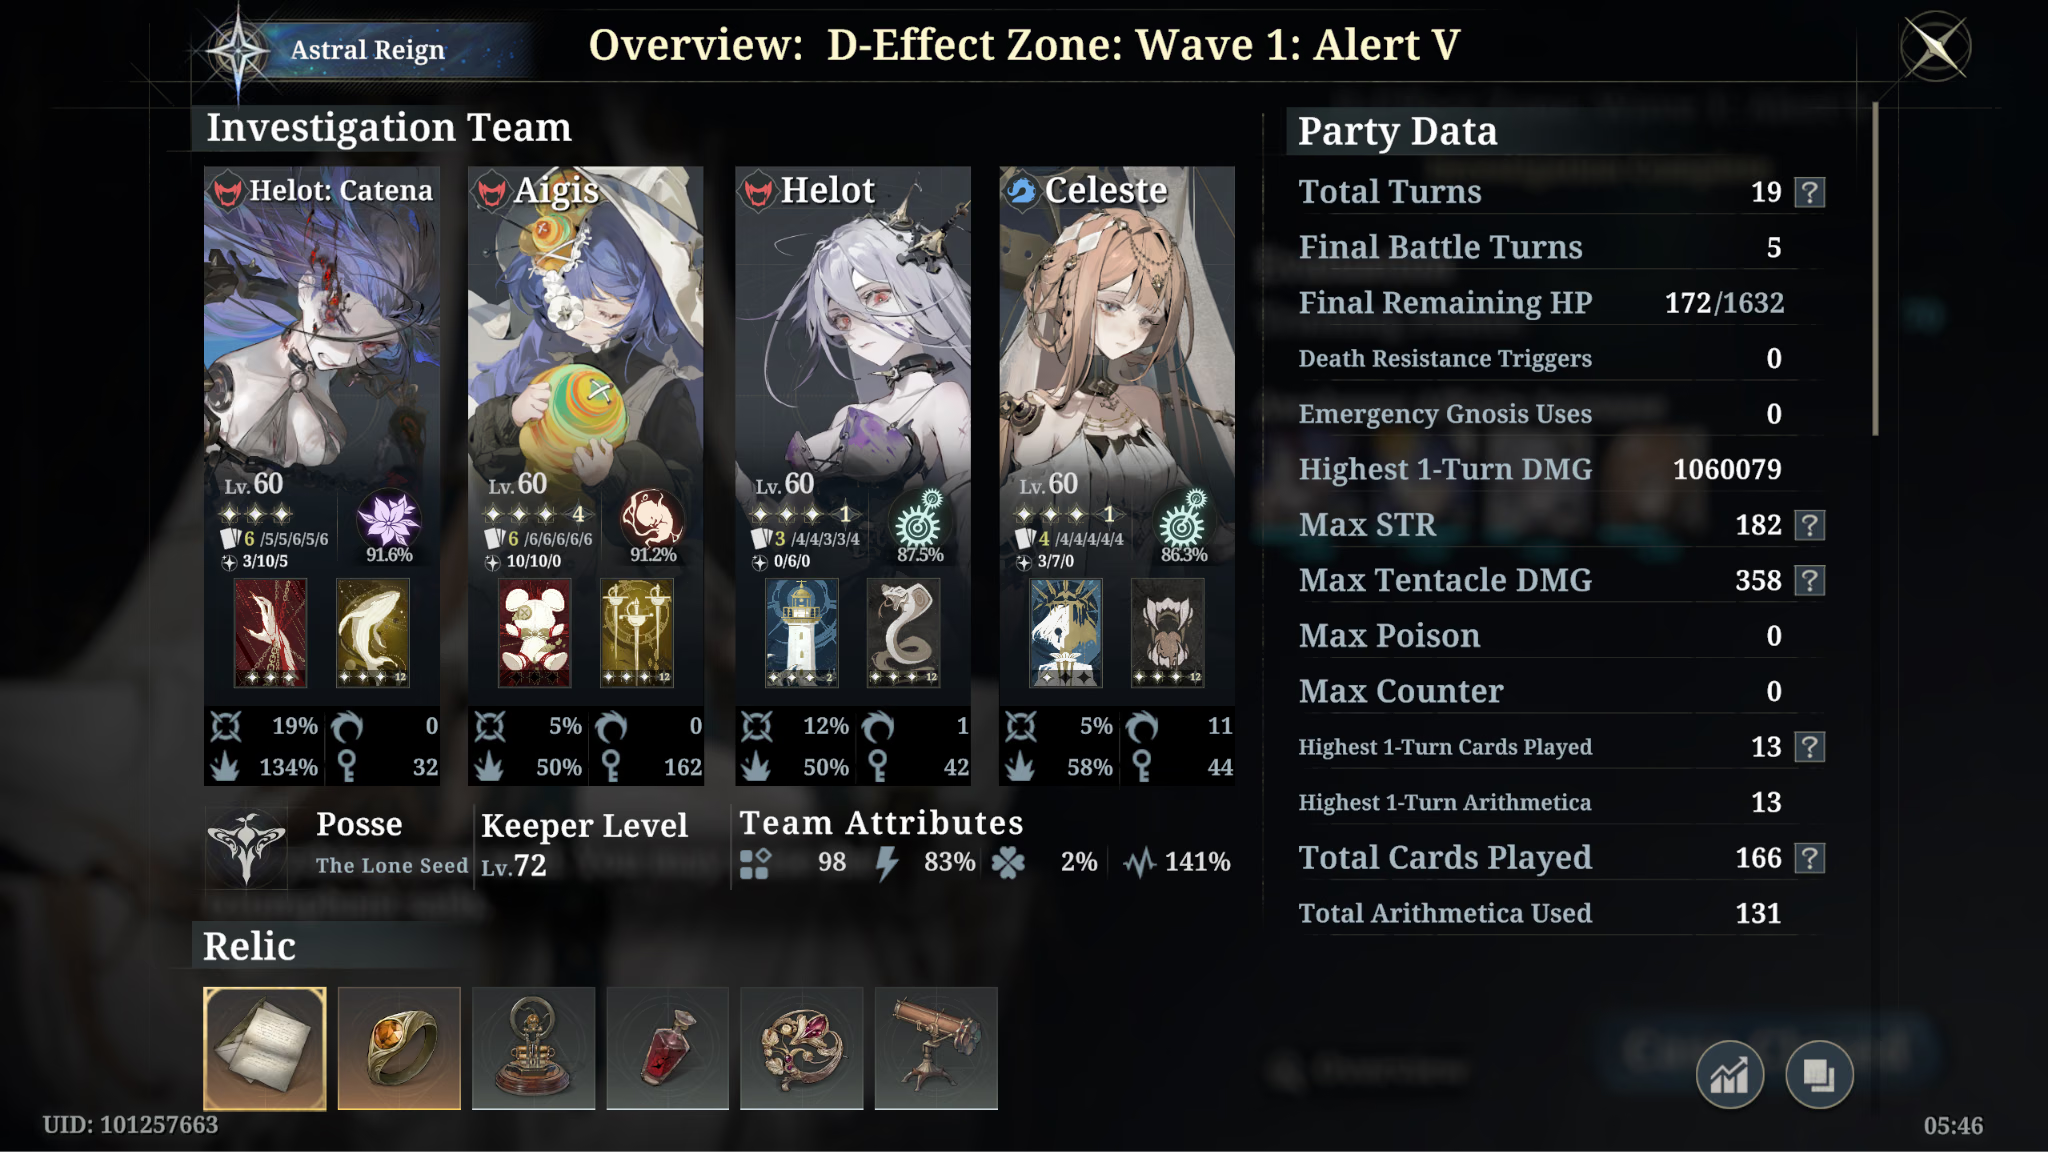
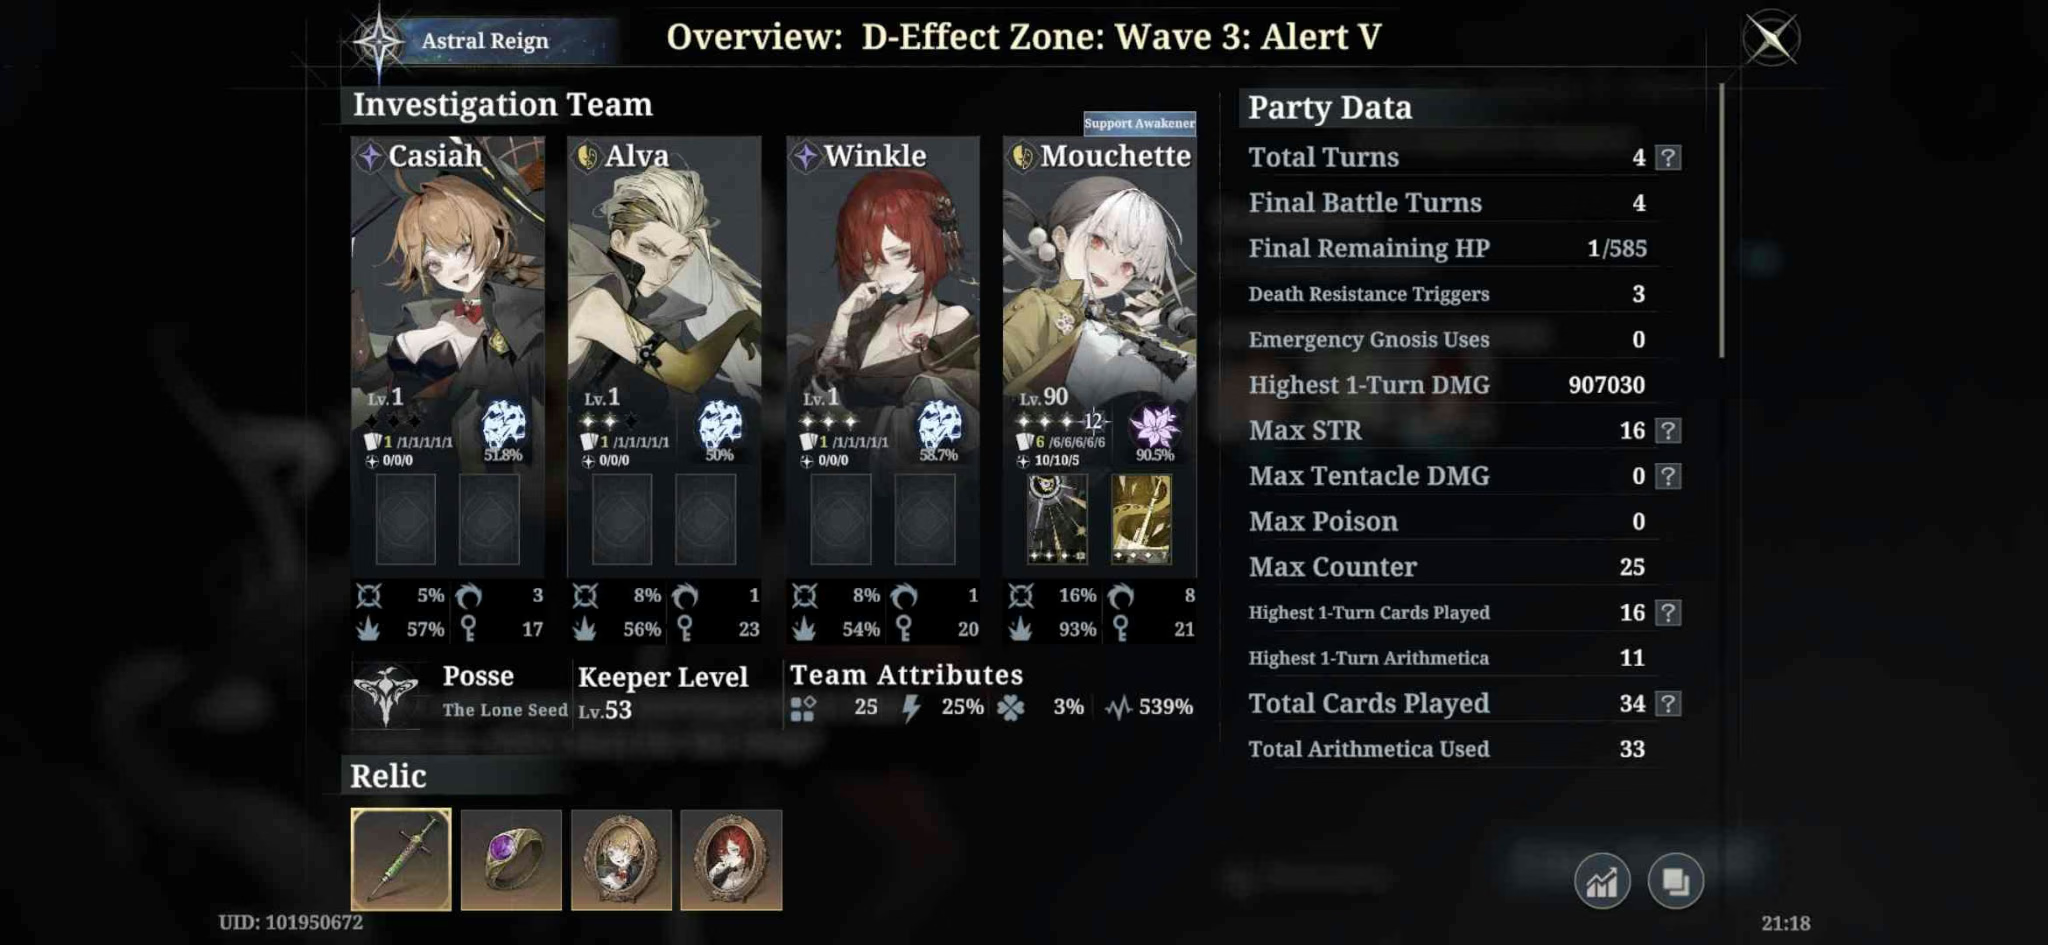
Above, you can see screenshots of teams that cleared each D-tide alert with minimal investment. Those players didn't succeed because they spent more money. They didn't succeed because they were "more skilled," as if skill in Morimens is something you're born with. They succeeded because they kept trying and proved it was possible.
If you aren't sure whether you can clear a wave or not, try it.
In the worst-case scenario, you learn more about the challenges you're facing: what works, what doesn't, and what to watch out for next time.
In the best-case scenario, you clear the wave.
Further Reading
- PolkaRain's Dzone Mechanics Overviews - a guide to every D-tide rotation
- Angbak's 12 active days 375 D-tide - crazy showcase of what a new account can do
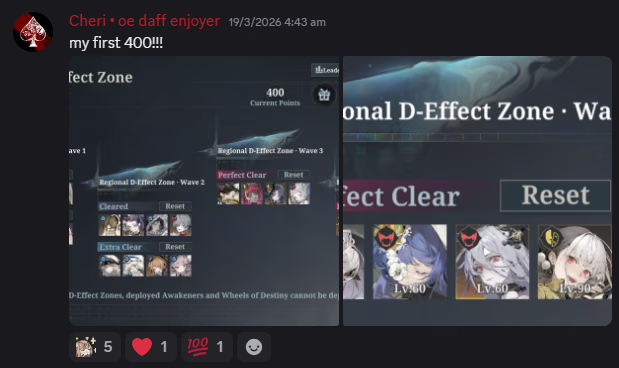
- Angbak's 39 active days 400 D-tide - the sequel
- Dracozion on Reddit - 425 clears with in-depth explanations
- Dracozion on YouTube - D-tide Alert 5 streams